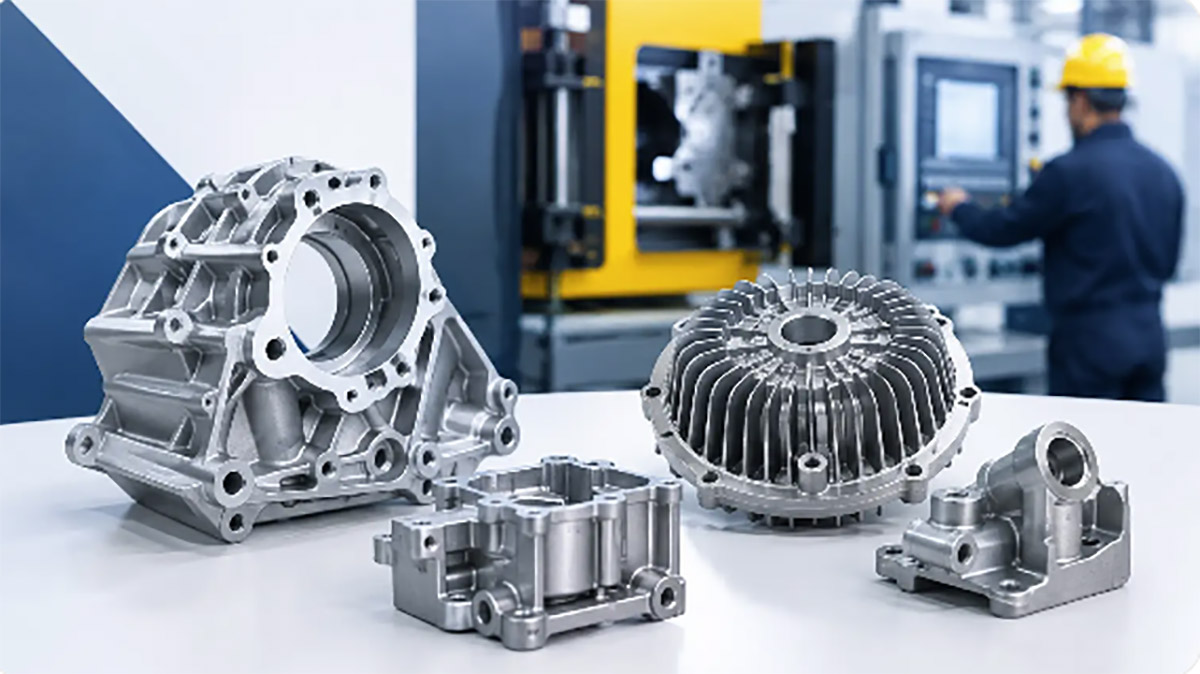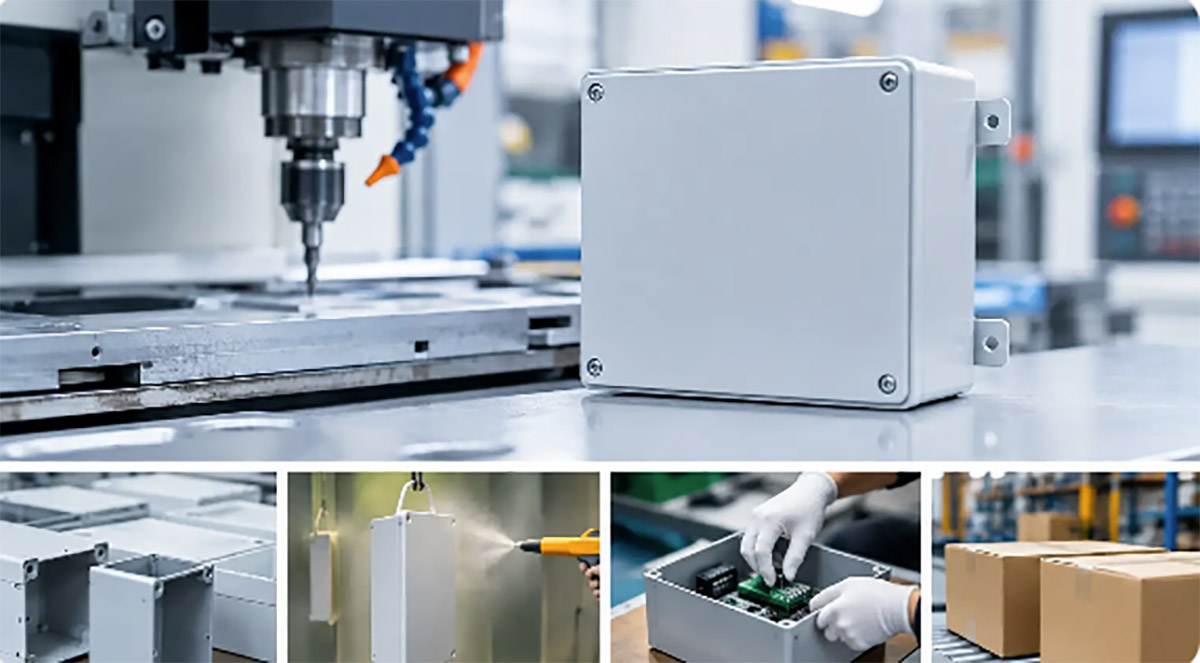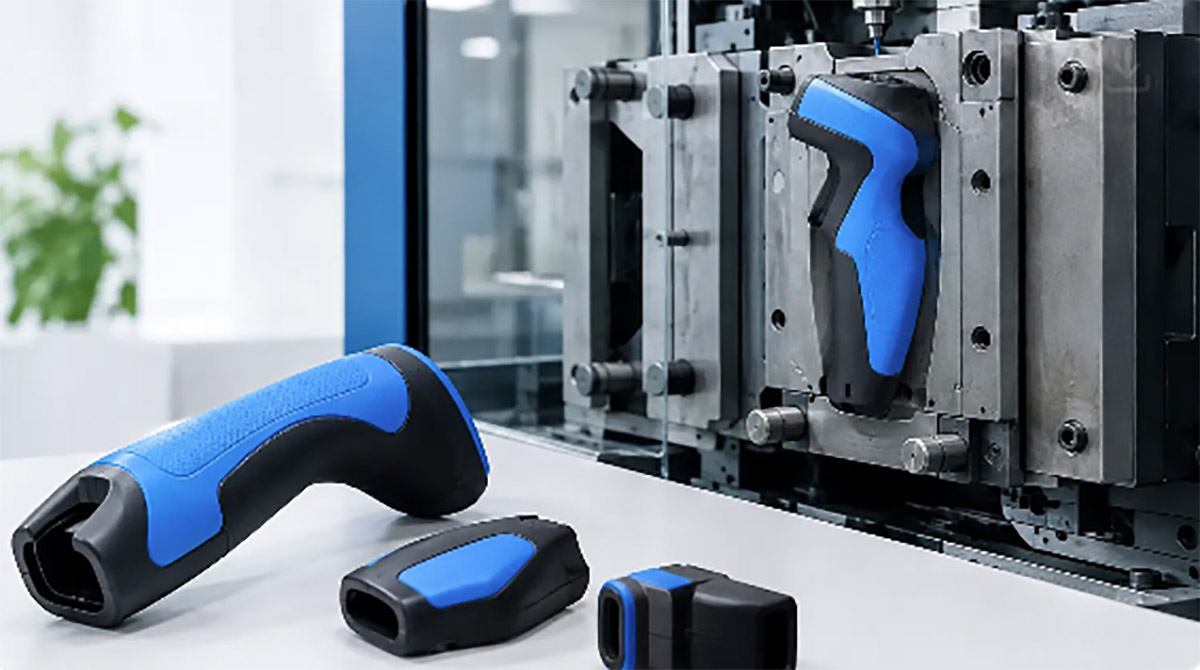
A practical injection mold tooling guide covering mold types, costs, timelines, DFM, steel selection, and quality factors for production planning.

A mold quote can look straightforward until the first
sample parts arrive with sink, flash, short shots, or a cycle time that makes
unit economics fall apart. That is why an injection mold tooling guide matters
early, not after steel is cut.
For product teams and sourcing managers, tooling
decisions affect lead time, part quality, maintenance cost, and how easily a
product can scale from pilot runs to full production.
What an injection mold tooling
guide should cover
Tooling is not just the mold base and cavity steel. It
is the full production system behind the plastic part: part geometry, resin
behavior, gate strategy, cooling layout, venting, ejection, texture,
tolerances, and the expected annual volume. If one of those inputs is wrong,
the tool may still run, but it may not run efficiently or consistently.
That is why mold planning
should start with the business case as much as the CAD file. A prototype mold for market validation, a
bridge tool for low-volume launch, and a hardened production tool for long
programs serve different purposes. The right answer depends on expected
quantity, tolerance requirements, product life cycle, and how much design
change risk still exists.
Start with part design before tool
design
Most tooling problems begin as part design problems.
Deep ribs, uneven wall thickness, sharp internal corners, and unrealistic
cosmetic expectations create avoidable cost in the mold. Before approving
tooling, the part should be reviewed for draft, wall consistency, undercuts,
gate location options, and ejection feasibility.
A proper DFM review often
changes the tool scope significantly. Adding draft may avoid side actions.
Adjusting wall thickness may reduce sink and shorten cycle time. Moving a
cosmetic shutoff line may simplify machining and improve appearance. These
changes are usually inexpensive before tooling starts and expensive after tool
steel is modified.
DFM guidance commonly recommends a minimum draft of 1–2° per side for untextured surfaces; textured or deep-draw parts typically require 3° or more to avoid ejection marks.
Wall thickness, draft, and parting
line choices
Uniform wall thickness is one of the biggest drivers
of stable molding. Thick-to-thin transitions can create warpage, voids, and
packing issues. That does not mean every wall must be identical, but
transitions should be controlled and supported by the selected resin.
Draft is another common issue.
Engineers sometimes minimize draft to protect geometry, but insufficient draft
increases ejection force, scratches textured surfaces, and can damage parts or
the tool over time. The required draft depends on material, texture, and depth
of draw. Cosmetic surfaces generally need more margin, not less.
The parting line also deserves
more attention than it usually gets. A poor parting line location can create
visible mismatch, extra flash risk, or difficult shutoff conditions. A
practical tooling review balances aesthetics with machinability and long-term
mold reliability.
Choosing the right mold type
Not every project needs a hardened multi-cavity tool.
The tooling strategy should match the production stage.
Aluminum or softer steel
prototype tools are useful when design changes are still likely and speed
matters more than mold life. They can shorten development cycles and reduce
upfront investment, but they may not hold up well for high-volume runs or
tighter process windows.
Pre-hardened steel tools are
common for many commercial programs. They offer a practical middle ground for
moderate to high production volumes with solid durability and reasonable lead
times. Fully hardened steel tools are better suited for long production life,
abrasive materials, and demanding tolerance or wear conditions, though they
come with higher upfront cost and longer build time.
For context, the industry SPI mold classification (Classes 101–105) groups tools by expected shot life — a 500,000-shot program generally falls within Class 102 / 103.
Single-cavity molds make sense
for low volumes, larger parts, or programs where process control is more
important than output. Multi-cavity molds improve throughput and part cost, but
they require more careful balancing, tighter machining control, and a stronger
understanding of how cavity-to-cavity variation will be managed.
Family molds versus dedicated
cavity molds
Family molds can be attractive because they combine
multiple related parts into one tool. That can reduce tooling cost and simplify
initial procurement. But they also introduce trade-offs. If the parts have
different volumes, fill patterns, or cosmetic requirements, balancing becomes
harder and scrap risk may increase.
Dedicated cavity molds cost
more upfront but often perform better in sustained production. They are easier
to optimize, maintain, and scale. For products expected to run in meaningful
volume, dedicated tools usually provide better long-term control.
Our tooling capabilities at Creator Technology
Based in Xiamen, we design the mold and produce the parts under one roof. For a typical production program:
Maximum mold size: 1,000 × 1,000 mm
Typical mold life: 500,000 shots (with proper maintenance)
Lead time: 20 days for simple molds; 40–60 days for large or high-complexity molds (even particularly difficult molds can be delivered in around 60 days)
Part sizes we run: from small precision inserts to parts over 500 mm
Value-added: in-house DFM review and mold flow analysis — our key differentiators
Steel selection is a cost and
quality decision
Mold steel affects wear resistance, polishability,
maintenance frequency, and expected life.
Steel | Hardness (HRC) | Best for | Wear / Corrosion |
|---|---|---|---|
P20 | 28–34 | General-purpose, pre-hardened | Moderate |
H13 | 48–52 | High-wear, abrasive resins | High wear resistance |
S136 | 48–52 | Corrosive resins, medical, mirror polish | High corrosion resistance |
NAK80 | ~40 | High polish, optical parts | Good, pre-hardened |
P20 is widely used for
general-purpose molds because it is cost-effective and practical for many
production programs. H13 and S136 are selected when higher wear resistance,
corrosion resistance, or surface quality is required.
The resin matters here.
Glass-filled materials, flame-retardant grades, and corrosive resins can wear
or attack mold surfaces faster than standard unfilled materials. A lower-cost
steel may look attractive at quotation stage, then create maintenance cost,
downtime, or inconsistent dimensions later.
Surface treatment also plays a
role. Nitriding, polishing level, and texture specification should be aligned
with the resin and the cosmetic standard of the part. Over-specifying finish
adds unnecessary cost. Under-specifying it can lead to visible defects or poor
release.
Gates, runners, cooling, and
venting determine performance
A mold can be accurately machined and still produce
unstable parts if the flow system is weak. Gate design determines how the
cavity fills, packs, and cosmetically presents. The wrong gate location may
cause weld lines in critical areas, poor dimensional control, or visible gate
vestige where the customer does not want it.
Cold runner systems are
usually less expensive to build and maintain. They are often suitable for
straightforward parts and lower production volumes. Hot runner systems reduce
material waste and can support faster cycles or better fill balance in some
applications, but they increase tool complexity and maintenance requirements.
For some programs, the savings in resin and labor justify the added investment.
For others, a cold runner remains the more commercial choice.
Cooling layout is one of the
biggest drivers of cycle time, but it is often underestimated during quoting.
Poor cooling leads to long cycles, warpage, and inconsistent shrink. A tool
that costs less upfront but runs five seconds slower per cycle may become the
more expensive option over the life of the program.
Venting is equally critical.
Trapped gas can cause burns, short shots, and unstable filling. Good vent
design is a basic requirement for repeatable molding, especially with thin
walls or complex flow paths.
Typical vent depths for unfilled thermoplastics are cited in the 0.02–0.05 mm range; the exact value depends on resin viscosity and injection speed.
Tolerance expectations need to be
realistic
Tight tolerances are possible in injection molding,
but they are never free. Material shrink variation, mold temperature, part
geometry, and process stability all influence final dimensions. If every
dimension on a print is held to a tight standard without regard to function,
tooling cost rises and yield often drops.
The better approach is to
identify critical-to-function features and separate them from non-critical
dimensions. That gives the toolmaker and molder room to build a process around
what actually matters. It also reduces the risk of repeated tool adjustments
chasing cosmetic or non-functional dimensions that do not affect assembly or
performance.
For parts that interface with
metal inserts, electronics, gaskets, or mating housings, tolerance stack-up
should be reviewed before tooling release. This is particularly important when
the program includes secondary processes such as assembly, ultrasonic welding,
or overmolding.
Class | Typical tolerance (mm) | Application |
|---|---|---|
Standard | ±0.05 | General commercial parts |
Precision | ±0.02 | Functional fits |
Ultra-precision | ±0.01 | Medical / optical interfaces |
Tooling timelines and qualification
planning
A realistic tooling plan includes
more than the mold build. It should cover DFM review, mold flow if required,
steel approval, machining, assembly, T1 sampling, corrective actions, texture
or polishing updates, validation, and pilot production. Many delays happen not
because a shop cannot machine the tool, but because the program did not
allocate time for iteration.
T1 samples rarely represent
the final approved condition. They are a checkpoint to validate fill, shrink, cosmetics,
and function. Some tools need only minor tuning. Others need gate changes, vent
improvements, steel-safe adjustments, or cooling modifications. Programs move
faster when these possibilities are expected rather than treated as exceptions.
An experienced manufacturing
partner will also plan for measurement, fixture needs, and assembly validation
during sampling. That matters because a molded part can look acceptable on its
own and still fail once it enters the full product build.
Field note: a two-shot medical molding program
For a medical customer, we handled both mold design and part production — a two-step overmolding process. The first shot (with metal inserts loaded in) was produced across multiple first-shot cavities, all feeding one common second-shot mold. Because the customer had many product variants and strict cosmetic requirements, production could not stop — any downtime and black specks appeared in the melt.
The second-shot mold required very high precision and a clean fusion between the two materials. We used a hot-runner system, but ran into a problem: the second shot had a small shot volume, and combined with the hot runner, the material in the screw could not be fully displaced within 7 minutes — causing product darkening / black spots.
After analysis, we deliberately increased the runner and sprue volume (intentionally "wasting" a small amount of material) to guarantee complete melt turnover on every cycle. Part quality improved immediately.
The takeaway: mold design must consider the whole system — resin residence time, shot volume, and runner layout — not just cavity geometry.
How to evaluate tooling quotes
correctly
The lowest quote is not always the lowest program
cost. Buyers should compare steel grade, cavity count, mold life assumption,
hot or cold runner design, included revisions, sampling rounds, inspection
scope, and ownership terms. Two quotes can appear similar while delivering very
different production outcomes.
It also helps to ask how the
supplier handles maintenance, spare components, and engineering changes after
SOP. A mold is a production asset, not a one-time purchase. If the project is
expected to scale, the support model matters almost as much as the initial
build.
For companies moving from
prototype to volume, integrated support has practical value. When one manufacturing partner
can support DFM, tooling, molding, secondary operations, assembly, and
packaging, handoff risk drops and feedback loops are shorter. That is often
where schedule protection and quality consistency are won.
A practical injection mold tooling
guide for better launches
The best tooling decision is rarely the cheapest or
the most complex. It is the one that fits the part, the resin, the forecast,
and the commercial reality of the product. For some programs, that means
starting with a lower-risk bridge tool. For others, it means investing in
hardened production tooling early because the volume and quality targets
justify it.
If there is one useful rule,
it is this: treat tooling as a production strategy, not just a purchasing line
item. When part design, mold design, process planning, and downstream assembly
are reviewed together, the launch is usually faster, the parts are more stable,
and the cost picture is easier to defend. That is the kind of discipline that
keeps a product moving once demand stops being theoretical.
Further Reading & Industry References
SPI mold classification system (Classes 101–105) — mold shot-life grouping
General DFM guidelines — draft, wall thickness, and tolerance rules of thumb
Mold steel datasheets — P20 / H13 / S136 / NAK80 hardness and application data
Cooling-time optimization references — cycle-time allocation (cooling ≈ 60–70%)
Vent design references — thermoplastic vent-depth ranges